In Gro, you can send an Estimate to your clients in three simple ways:
a. Sending an Estimate from the Estimates & Jobs Screen
You can an existing estimate directly from the Estimates and Jobs screen. To do this
- Open Estimates and Jobs from the Navigation Pane
- On the Estimate and Jobs screen, tap on the three dots on the right corner of your existing estimate that you wish to send for approval.
- Tap on Send for Approval.
- On the estimate for approval page, your customer’s email address would be pre-populated as well as a summary of the estimate.
- To preview the estimate, click on the Preview Estimate button.
- Tap Send to complete.

b. Sending an Estimate from the Estimates Details Screen
You can also send estimates for approval via the Estimates Details screen. To access this screen, simply tap on the existing estimate you wish to send. Once you land on the Estimate Details screen, you can send the estimate by simply remaining on the Estimate Info tab or by tapping on the Services tab and hitting the Send for approval button.
Client View
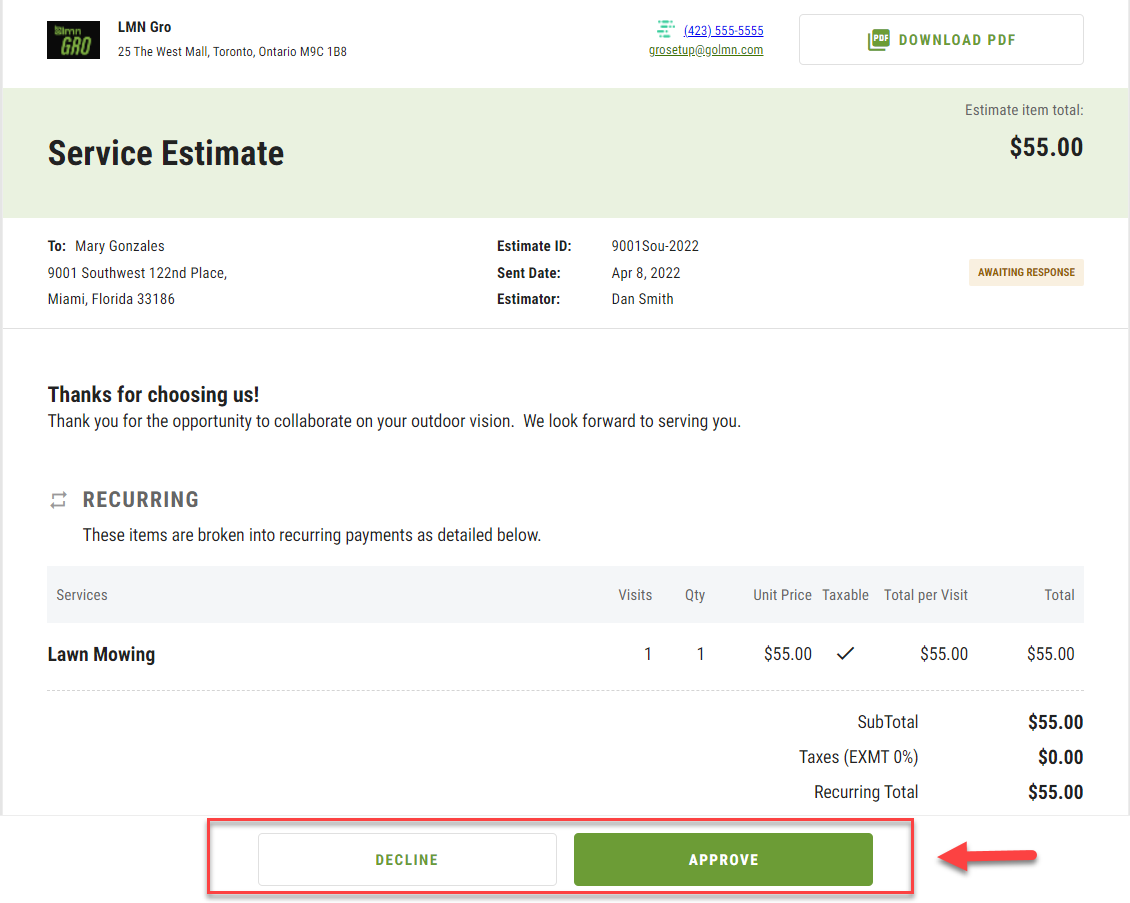
Once you have sent your estimate for approval, your client will receive an email asking them to review their estimate. The client will then be able to instantly approve the estimate by clicking on the Approve button on the Estimate.
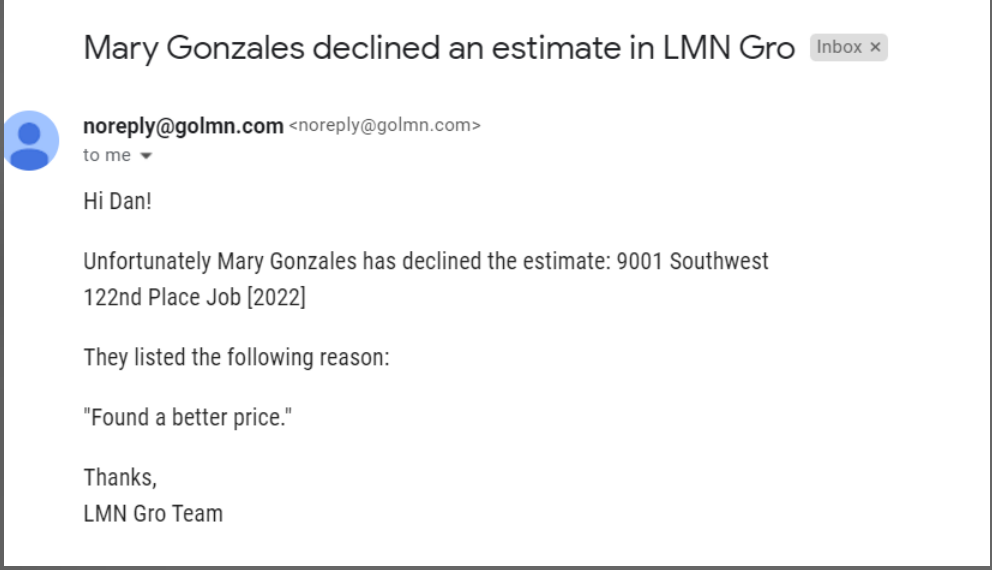
Once your client has made a decision on the Estimate, you will get an email notifying you of their response.
If your Estimate is approved, it will automatically become a Job that can be scheduled and tracked on your timesheets. You can view the approved estimate by tapping on the Jobs tab on the Estimates and Jobs screen.
Comments